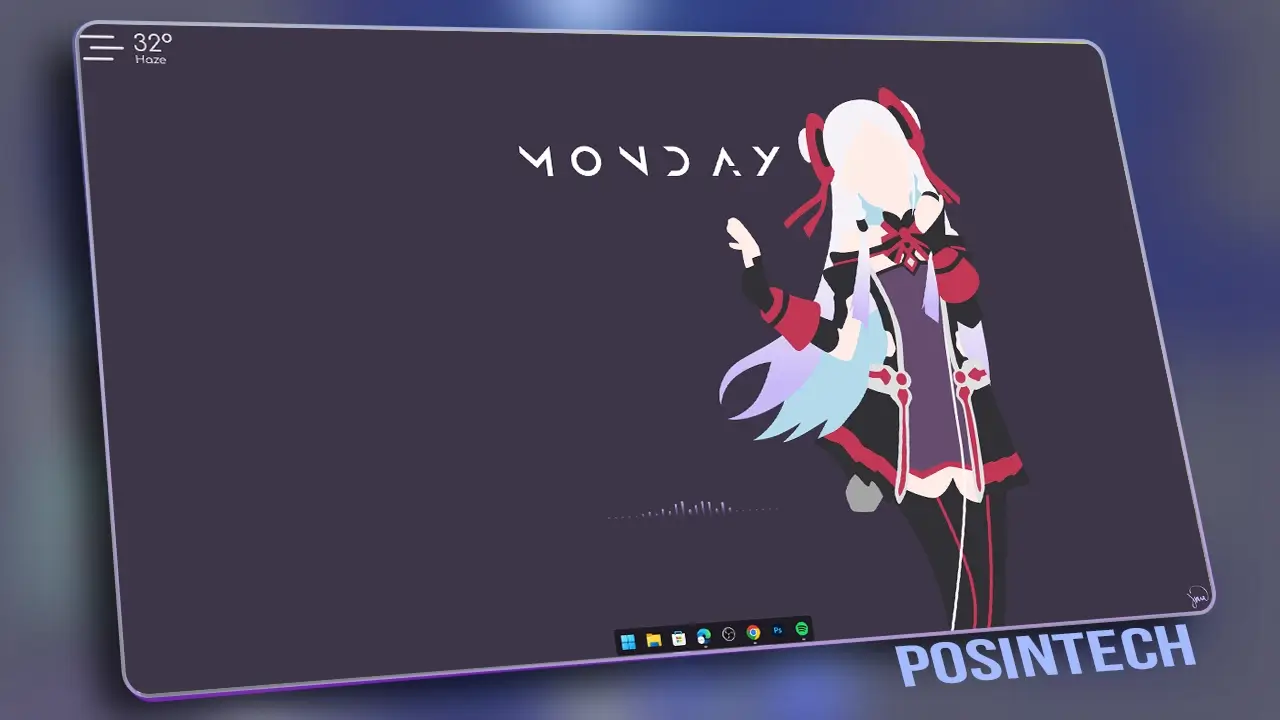
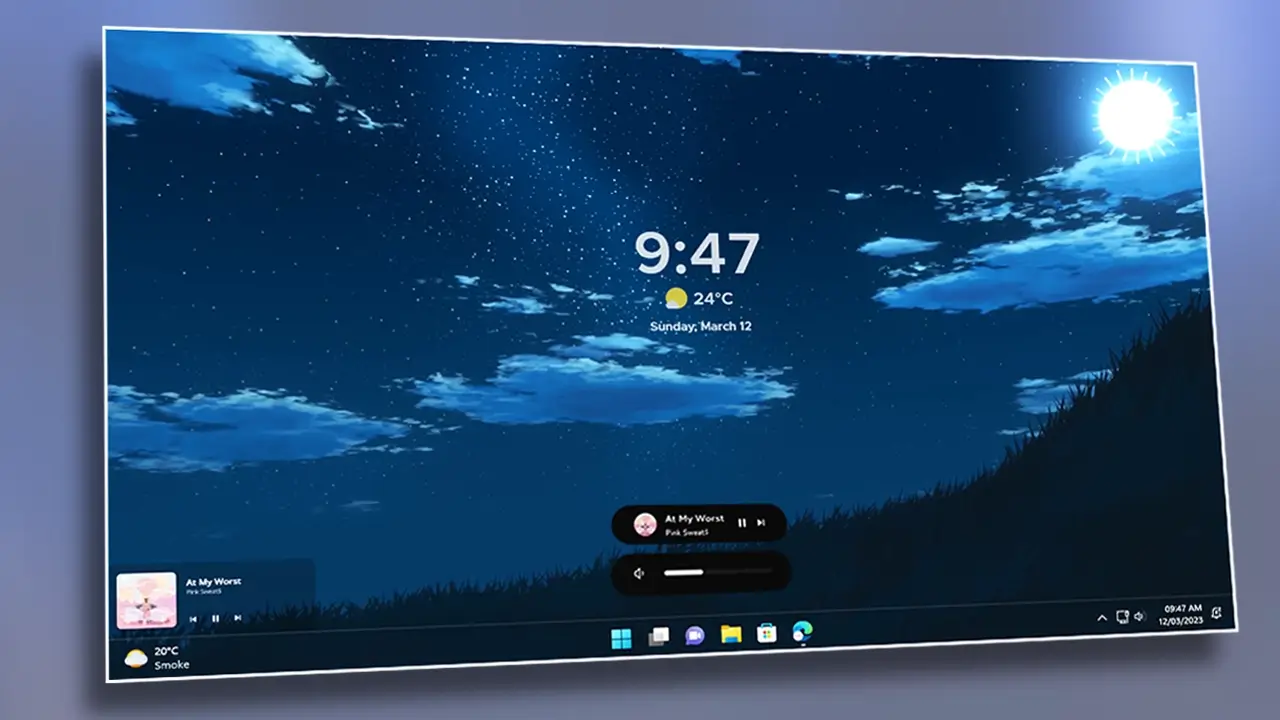
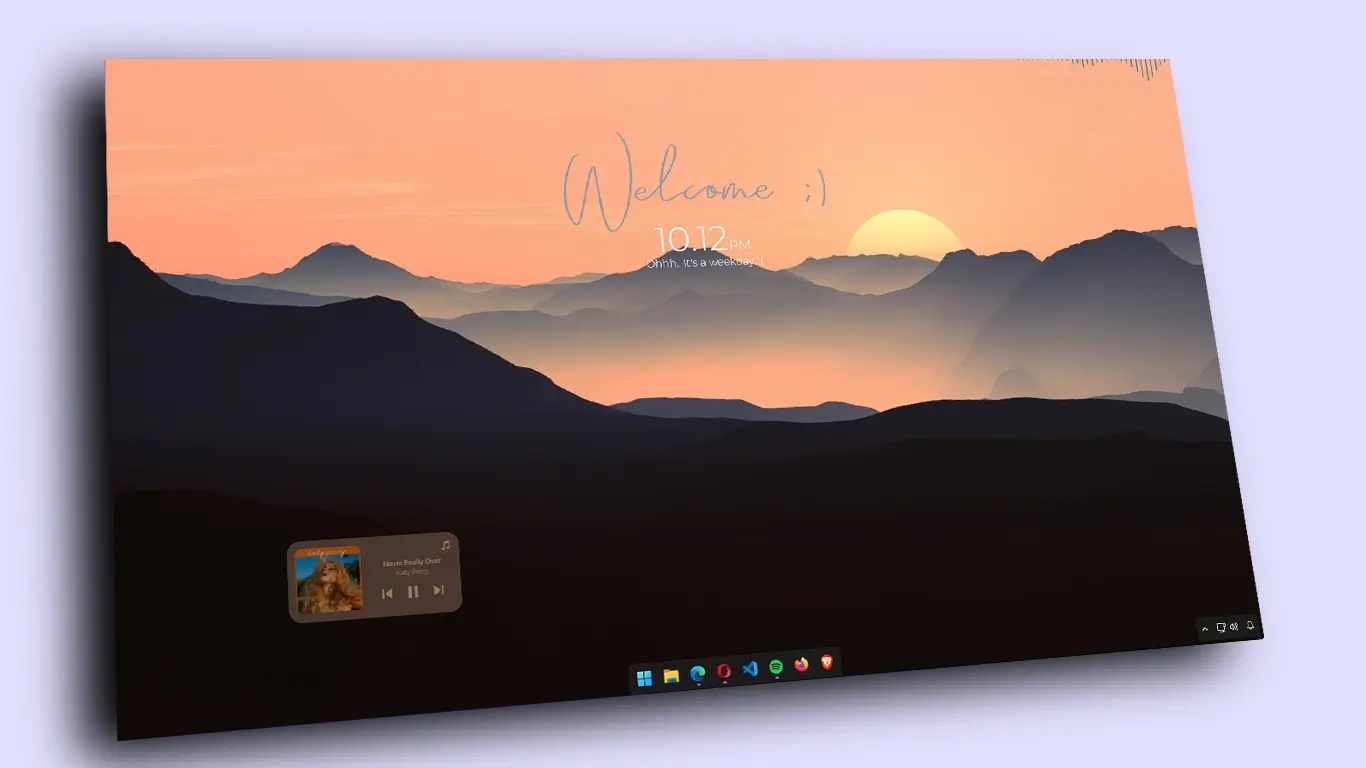
Anime Theme Desktop Customization (SAO – Desktop Theme)

Play Video
Table of Contents

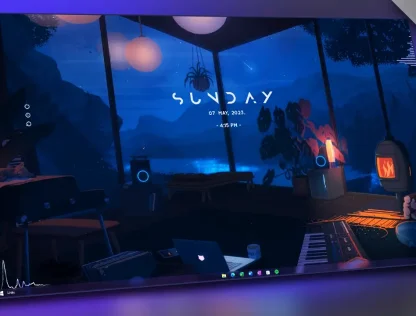
Hello, today I will show you how you can give an awesome Sword Art Online Desktop Theme customization for your PC.

We will be going follow 8 Steps to complete our S.A.O. Themed anime theme desktop customization. All the steps are necessary :).

Watch the full video for proper instructions 🙂 | And if you like the video then please do like, share, and subscribe 🙂

Step 1. Download All Necessary Files!

Download Theme Pack File
Download Nexus Dock
Download Rainmeter

Step 2. Hide Desktop Icon and Taskbar

  • In order to hide the desktop icon just right-click anywhere on your desktop and then hover on the view after then a new pop-up appears on the left side or maybe on the right side. Now click on the Show desktop icon and you are all Done.
  • Now to enable the auto-hide taskbar feature right click on your taskbar then click on the taskbar setting scroll down and look for Taskbar behaviors click on it then you’ll see some lists. Now in that list look for Automatic hide the taskbar then check that option then you are all Done.

Step 3. Change Wallpaper

Now extract the Theme Pack File that you’ve downloaded and set the wallpaper that is inside Theme Pack File.

Step 4. Install Nexus + Settings

  • Install Nexus Dock
  • After installation is done go to Theme Pack File. Search for dock_icon folder after finding cut that folder and paste that folder into C:\ Drive.
  • Now open nexus and go to Advance inside the advance option you’ll see the Restore option
    Click on that option and select the folder that you pasted earlier in C:\ Drive.
  • Now go to the appearance option and select the dock size as you want.
change dock size in nexus

Step 5. Rainmeter & Skin

Now install Rainmeter – Unload all skins if already loaded. Then install Rainmeter Simple and Clean skin that is inside the theme pack file. Again unload all skins if already loaded.

Then open the Rainmeter and then the Simple and clean folder. Inside the folder right click on setting.ini and then click on edit. Now open the theme pack file folder and then the setting.txt and copy all text from setting.txt and replace it with the setting.ini.

Step 6. Rainmeter Cantarell Skin

Install Rainmeter Cantarell skin – then unload all skins if it is already loaded. Then load Cup, Ram, HDD, and Player. Place all these as shown in the picture below. Now open setting.ini and choose the color that you like. But I prefer you to choose purple or pink.

Step 7. Rainmeter Monstercat-Visualizer skin

Install Rainmeter Monstercat-Visualizer skin. then unload all skins if it is already loaded. Then load the visualizer.ini. Then go to the setting folder of that skin and load general.ini and do the settings as shown in the picture below.

rainmeter monstercat skin settings
Rainmeter monstercat skin (general settings)
rainmeter monstercat skin visualizer settings
Rainmeter monstercat skin (visualizer settings)

In styling choose any color you like.

Step 8. Rainmeter Rainy Day (Last Step)

rainmeter rainy day skin customization

Install this skin only when you have 4 GB of Ram. Install Rainy Day skin then open setting.ini. Select the color purple or pink Explore other settings for yourself. You are all Done :).

Next To Read :
Make windows 11 cool and Professional
Make windows 10 look awesome

Share Article

2 thoughts on “Anime Theme Desktop Customization (SAO – Desktop Theme)”

Leave a Comment

Your email address will not be published. Required fields are marked *

Scroll to Top